Docker is one of the most popular open-source container management platforms that you might come across. And this is so because it has tons of features and functionalities that allow you to create, manage, manipulate, and deploy applications in isolated environments called containers. You can easily pull a Docker image from the registry and create container instances or even build your own customized images as well.
Why use Python Client Library API for Docker?
Suppose you have created a Python-based application using Django or Flask and you now want to deploy this application inside a Docker container. One way to do so is to create a Dockerfile and mention relevant instructions there and then build the image. The second way to do this is to simply create a Python script, import the Python Client API for Docker, and mention commands and Python statements there. The second method is slightly more convenient especially when you want to deploy Python applications. Because all the operations are then done using a single language. The Python client library API for Docker allows you to create containers, images, volumes, networks, etc., and manage them efficiently just like you would do with the command line. In this article, we will discuss how to do so, by downloading the API, and then we will look at some practical hands-on examples to work with containers, images, and volumes. So, without any further ado, let’s get started.
Installing the Python Client Library API for Docker
In order to use the API, we need to first download and install the package. The name of the package is Docker-py and it resides in this Github repository. You can install the package using the simple pip command mentioned below.
$ pip3 install docker-py
If you are using Python 2.x, then probably, you have the pip version 2 installed. You can use this command instead.
$ pip install docker-py
Connect to Docker Daemon
Now that we have installed the packages, it’s time to connect the client to the Docker Daemon server. You can simply do this with a couple of commands mentioned below. from docker import client
myClient = client.Client(base_url='unix://var/run/docker.sock')
Here, we have imported the client from the docker module. Then, we have created a client object and specified the path of the Docker socket to that object so that it can connect to the daemon.

Listing Containers
We can use the client object to list all the containers. For that, we need to call the containers() method on the client object as mentioned below.
myClient.containers()
This will list all the containers in your local machine.
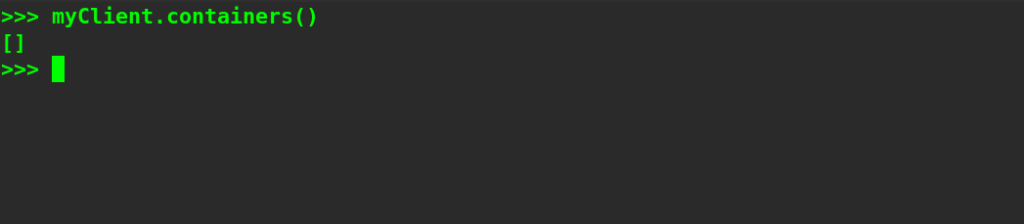
Currently, we don’t have any containers in our machine. Let’s try to create one.
Creating a Container
We can create a new container using the create_container() method on the client object. We need to specify the name of the image along with the entry point command. Please note that to create a container, you need to have the associated image downloaded to your machine. Let’s try to create an Ubuntu container called myContainer.
myContainer=myClient.create_container(image="ubuntu", command='/bin/bash')

Let’s verify by printing the ID of the container.
print(f"The Container ID is - {myContainer['Id']}\n")

You can see that the container has been created successfully.
Inspecting a Container
To inspect a container, we can use the inspect_container command on the client object. Let’s try to inspect the same container that we created in the above step.
print(f"{myClient.inspect_container(myContainer['Id'])}\n")
We need to specify the container ID to inspect that container.
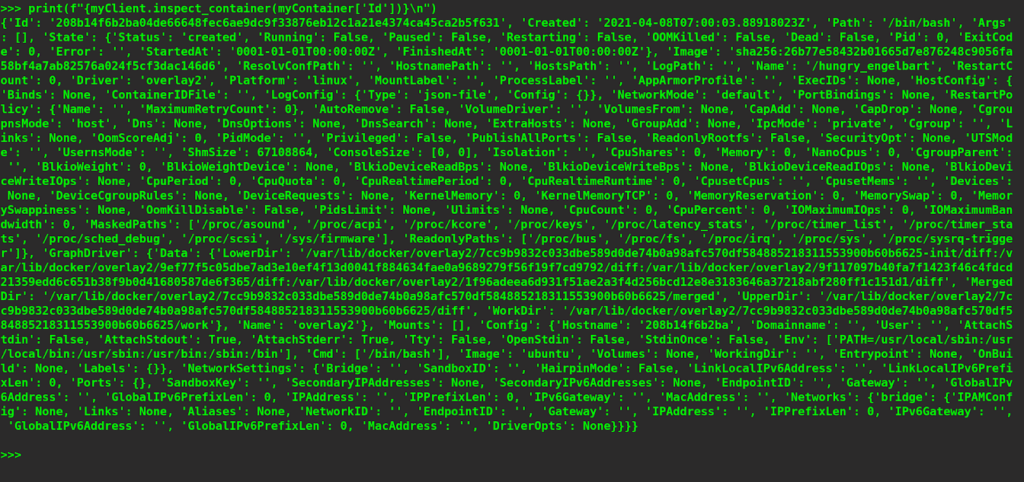
You can see that all the details have been printed successfully. If you want to inspect only the container name or date of creation, you can do it using the following commands. Just specify the name of the field that you want to be printed.
print(f"The name of the container is: {myClient.inspect_container(myContainer['Id'])['Name']}")

print(f"The Date of Creation of the container is: {myClient.inspect_container(myContainer['Id'])['Created']}")

Committing a Container
If you want to commit the changes made to a container to a new image, you can use the commit method on the client object. You need to provide the container ID to do so. Let’s suppose we want to commit a container and apply a new tag. We can do so using the following command.
myClient.commit(myContainer['Id'], tag='container1')

The new container ID has been returned.
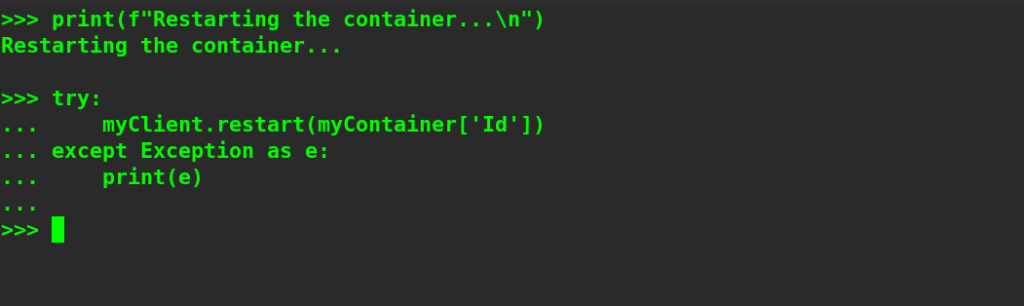
Restarting a Container
You can restart a container using the restart method on the client object by passing the container ID as an argument. However, we need to make sure that the container is actively running if we want to restart it. That’s why we need to wrap it inside the try-except blocks.
print(f"Restarting the container...\n")
try:
    myClient.restart(myContainer['Id'])
except Exception as e:
    print(e)
Listing Images
Now that we have already discussed some basic commands that can be used to manage containers, let’s see how to list images using the Python client library API for Docker. To list the images, we can simply invoke the images() method on the client object.
images = myClient.images()
print(f"The first Image is: {images[0]}\n")

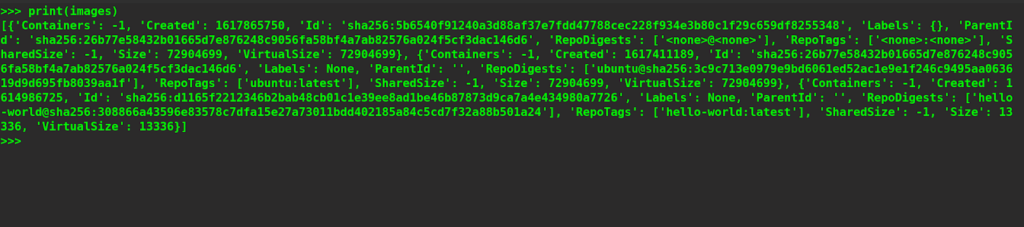
Here, the images variable will contain a list of all the images. We will then print the first image of that image list. To print all the images, simply print the entire list.
print(images)
Inspecting Images
Similar to inspecting containers, we can invoke the inspect_image command on the client object and pass the image ID of the image that we want to inspect as an argument. For example, let’s try to inspect an image with ID
5b6540f91240a3d88af37e7fdd47788cec228f934e3b80c1f29c659df8255348
.
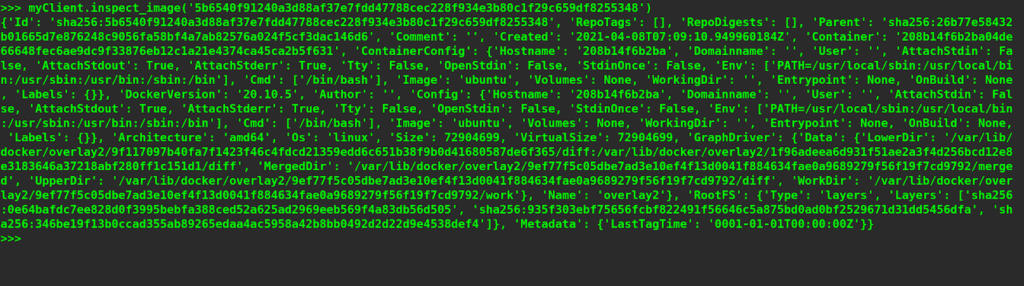
Suppose, if you want to find the date of creation, you can use the following command.
myClient.inspect_image('5b6540f91240a3d88af37e7fdd47788cec228f934e3b80c1f29c659df8255348')['Created']

Listing Volumes
Volumes are a solution to persistent storage problems in containers. We can mount volumes to containers and share them with other containers as well. This will allows us to share data among connected containers as well as with the host. To list volumes, we can invoke the volumes() method on the myClient object. This will give us a dictionary which will contain keys called ‘Volumes’ and ‘Warnings’ and the corresponding value for the ‘Volumes’ key will be a list of all the volumes in our system.
volumes = myClient.volumes()
print(volumes.leys())

Let’s try to print the details of the first volume.
print(f"The first volume is: {volumes['Volumes'][0]}\n")

You can see that it returns a dictionary that contains the details of the first volume in the list.
Creating Volumes
To create a new volume, we can use the create_volume() method on the myClient object. We need to pass the name of the volume, driver, and other optional driver options as the argument. For example, if we want to create a new volume called myVolume1 with a local driver, then we can use the following set of commands.
print(f"Creating a new volume with name myVolume1 ...")
volume=myClient.create_volume(name='myVolume1', driver='local', driver_opts={})
print(f"{volume}\n")

You can see that the new volume has been created successfully.
Inspecting Volumes
Inspecting a volume is similar to inspecting containers and images, we just need to specify the name of the volume as an argument to the inspect_volume method invoked on the myClient object. Let’s try to inspect the volume called myVolume1.
print("Inspecting the new volume...")
print(f"{myClient.inspect_volume('myVolume1')}\n")

You can see that a dictionary containing the details of the mentioned volume has been printed.
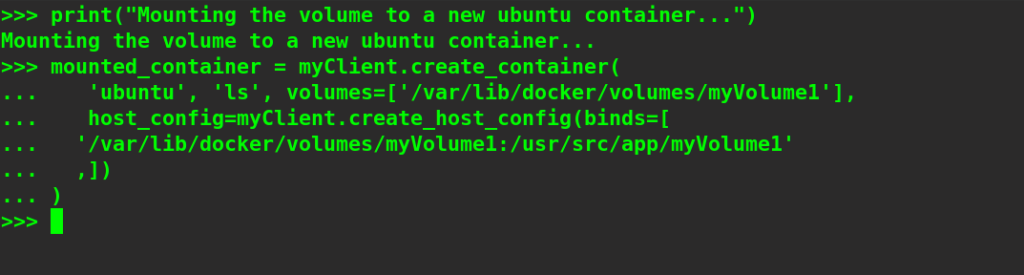
Mounting Volumes to Containers
We can directly mount a volume to a new container while creating it. If the volume does not already exist, it will get created. We need to pass the path of volume in the host machine and create a host config within the command by using the create_host_config method in which we will pass bind options such as source and destination paths of the volume. Let’s try to create an Ubuntu container with myVolume1 mounted on it.
print("Mounting the volume to a new ubuntu container...")
mounted_container = myClient.create_container(
   'ubuntu', 'ls', volumes=['/var/lib/docker/volumes/myVolume1'],
   host_config=myClient.create_host_config(binds=[
  '/var/lib/docker/volumes/myVolume1:/usr/src/app/myVolume1'
  ,])
)
Wrapping Up!
To conclude, in this article, we discussed how to leverage the Python Client library API for Docker to create, manage, and manipulate Docker objects like containers, images, volumes, etc. This is just a glimpse of the power of the API. We can also manipulate networks, swarm nodes, clusters, and pretty much anything that can be done using the command line. We discussed how to list, create, and inspect Docker containers, images, and volumes. We hope that with the help of this article, you will be able to get hands-on with this API and you will be able to containerize your Python applications easily and efficiently. Happy Learning! People are also reading:
- How to run an Nginx Web Server in Docker?
- How to list Docker Images?
- How to use a Dockerfile to build Docker Images?
- Docker Images vs Containers
- REST API Interview Questions
- Docker Images vs Virtual Machines
- Lifecycle of Docker Containers
- What is Docker?
- Kubernetes vs Docker Swarm
- How to create a private registry for Docker?
- What is Docker Container Linking?