

Docker volumes are the best solution for persistent data storage problems in Docker. There might be some data such as files or metadata that are generated during the container lifecycle or something which you might want to share from the host machine to the container periodically. In such cases, you can easily create volumes in your host machine and bind them to your containers. You can even share a single volume with multiple containers at a time. Apart from Docker volumes, the other option is the bind mount.
They depend on the structure of the OS directory and even the OS of the host machine. While the volumes are entirely managed by Docker. Moreover, when you are using a bind mount, the file is referenced by the absolute path in the host. However, in volumes, you create a new directory in the container’s filesystem, link it with the volume location in the host, and then share data.
Volumes are always a better choice than bind mounts because they do not increase the container’s size and also they exist outside the lifecycle of the container. In this article, we will discuss how to create volumes in Docker, manage volumes in Docker, and also we will discuss how to share a volume with multiple containers.
Managing Docker Volumes
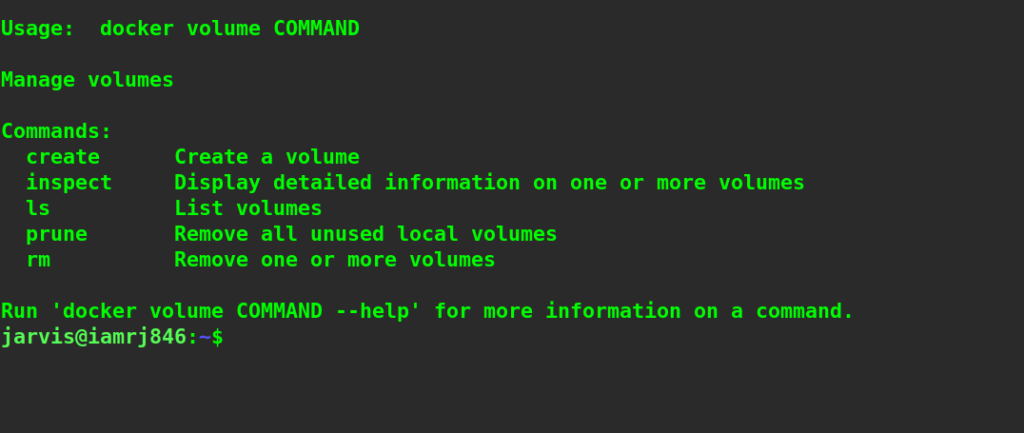
There are two ways through which you can mount volumes in Docker. The first one is using the --mount option. This is a more verbose and explicit option. The other one is using the -v or --volume option. The --mount option consists of several key-value pairs which can be separated by commas. The order of the keys is insignificant and the values are easier to understand. The -v option consists of 3 fields. They are separated by colons. We need to mention the fields in the correct order. Please note that in case you want to specify the type of driver, you need to use the --mount option. In this article, we will be discussing both methods. Following are the Docker volume sub-commands that we can use.
Create a Volume
To create a volume, we can simply use the volume create command. The general syntax is -
$ docker volume create [OPTIONS] [VOLUME]
Let’s try to create a volume called testvolume1.
$ docker volume create testvolume1

The options that we can use are -

Listing Docker Volumes
Let’s try to list all the existing volumes using the docker volume ls command. The general syntax of this command is -
$ docker volume ls [OPTIONS]
The options that can be used are -

$ docker volume ls -f dangling=false

Here, we have used the dangling filter.
Inspecting a Docker Volume
The general syntax of the Docker volume inspect command is -
$ docker volume inspect [OPTIONS] VOLUME [VOLUME...]
And the options that can be used are -

Let’s try to inspect the testvolume1 volume that we created previously.
$ docker volume inspect testvolume1

Removing a Docker Volume
We can remove a docker volume using the following command.
$ docker volume rm [OPTIONS] VOLUME [VOLUME...]
We can use it to remove more than one volume as well, however, the volumes should not be used by containers that are actively running. In such a case, we can use the force removal option mentioned below.

$ docker volume rm myVolume1

Mounting Docker Volumes
As discussed, we can mount a volume to a container in two ways. Let’s see how to use the --mount option to do so.
$ docker run -it --name=testcont --mount source=testVolume1,target=/app ubuntu
Here, we have used the mount option with two tuples of key-value pairs. The first one specifies the source volume and the next one specifies the target path. If the locations or volumes does not exists, they will automatically be created.

Let’s check whether the directory has been created or not.
# ls

Now, let’s use the -v option to mount a directory in our host machine as a volume to the container.
$ docker run -it -v ~/Documents/test/:/test ubuntu
Here, we have a folder called test inside the Documents directory which contains a text file. Let’s mount it as a directory called test inside the container.

You can see that the folder has been mounted successfully as a volume.

Sharing Volumes with Multiple Containers
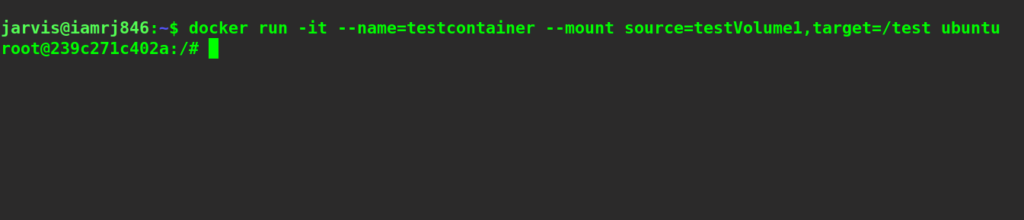
Let’s create a container called testcontainer with a volume called testVolume1 mounted in it.
$ docker run -it --name=testcontainer --mount source=testVolume1,target=/test ubuntu
Now, let’s create a file inside the mounted directory.
$ ls
$ cd test
$ echo “hello” > hello.txt
$ cat hello.txt

Now, let’s create another container called testcontainer2. But this time, we will use the --volumes-from option to attach all the volumes from testcontainer to testcontainer2.
$ docker run -it --name=testcontainer2 --volumes-from testcontainer ubuntu

If we list all the files, we will find that the same directory and file that we mounted in the previous container has been shared here as well.

Wrapping Up!
To conclude, in this article, we have discussed how to create volumes in Docker that can be used to store data persistently. We then discussed how to create, list, inspect, and remove Docker volumes. Moving ahead, we discussed how to mount volumes to a container using the --mount and -v options and then, discussed how to share a volume with multiple containers. We certainly hope that through this article, you will now be able to get hands-on with docker volumes.
Happy Learning!
People are also reading:
- What is Docker Networking?
- What is Docker Swarm?
- What is Docker Compose?
- What is Docker Container Linking?
- What is Docker Logging?
- Difference between Docker Images and Container
- Docker Interview Questions
- How to Use a Dockerfile to Build Docker Images?
- How to list Docker Images?
- How to Search Docker Images using CLI?