

A web page also contains static assets like CSS, JavaScript, and images. And Django provides a specific configuration and storage pattern for such files. Django comes with an inbuilt app “staticfiles” that manage all the static files for the project. To distinguish the static files, Django also provides a special configuration to handle staticfiles for development and deployment purposes.
In this article, we will discuss how to deal with static files in Django and learn how to serve static files in a project with debug modes True and False.
Create Django Project
So let’s get started with creating a Django project.
To create a Django project, we use the
django-admin startproject <project_name>
command.
django-admin startproject static_tutorial
The above command will create a Django project with the name
static_tutorial,
if Django is installed for your python environment.
static_tutorial
  manage.py
  db.sqlite3
  static_tutorial
        asgi.py
        settings.py
        urls.py
        wsgi.py
        __init__.py
It’s time to change the directory to static_tutorial project and run the local server.
python manage.py runserver
After running the local server, open localhost:8000 on the browser, and you will see the default app page of Django.
Handling Static files in Django
Django provides a specific setting to manage and handle static files. And to manage all static files, we need to configure the settings.py file.
Step 1: Configure Static URL
The first thing we need to configure is defining the
STATIC_URL
path for the static files in
static_tutorial/setting.py
file. The
STATIC_URL
is reserved identifiers in the Django
setting.py
file that defines the URL path for all the static files present in the project.
# static_tutorial/setting.py
STATIC_URL = '/static/'
Note 1: The name static is arbitrary. It could be anything, but the name must include ‘
/
’ at the end of the name. Note 2: In your Django project, the STATIC_URL will come predefined, you can change the value to any arbitrary name if you want, but we suggest you leave it as it is.
Step 2: Configure STATICFILES_DIRS
The
STATICFILES_DIRS
is also a reserved identifier that represents a list of static files, folders, or directories located in the local development environment. A project can have multiple apps, and each app can have its own static file directory. That's why we define an identifier
STATICFILES_DIRS
that contains the path for all the static files present in the project.
For our project, we are defining a single static file directory at the top level of our project with the name
static
, that's why we will only define a single path in the STAITCFILES_DIRS list.
#static_tutorial/settings.py
STATIC_URL = '/static/'
STATICFILES_DIRS = [BASE_DIR / 'static', ]      #new
Step 3: Configure STATIC_ROOT
STATIC_ROOT identifier is for the production level. It defines a directory that will collect all the static files when the project when the
collectstatic
command is executed. In STATIC_ROOT, we define a directory path that will contain all the static files during deployment.
With
STATIC_ROOT
, we distinguish the static files of deployment level to deployment level. As the STATIC_ROOT defines the location of static files for deployment or project, its name must also be different from the static files directories defined in the STATICFILES_DIRS list.
STATIC_URL = '/static/'
STATICFILES_DIRS = [BASE_DIR / 'static', ]

STATIC_ROOT = BASE_DIR / 'staticfiles'     #new
STEP4: Check the 'django.contrib.staticfiles' in INSTALLED_APPS
Django comes with many installed apps that are listed in settings.py as
INSTALLED_APPS
. There only Django provides an installed app
'django.contrib.staticfiles'
that is responsible for handling static files in a Django project.
INSTALLED_APPS = [
    'django.contrib.admin',
    'django.contrib.auth',
    'django.contrib.contenttypes',
    'django.contrib.sessions',
    'django.contrib.messages',
    'django.contrib.staticfiles',
]
Static Directory
Now we are done with
settings.py
file for static configuration, let's create a
static
directory in the root project directory where our
manage.py
is located. To create the directory, we can use the
mkdir command
mkdir static
mkdir static/css
mkdir static/img
The above commands will create a
static
directory in the root folder and
css
, &
img
as the static subdirectories.
static_tutorial:
    db.sqlite3
    manage.py

    static
        css
        img
    static_tutorial
        asgi.py
        settings.py
        urls.py
        wsgi.py
        __init__.py
We have already configured Django, which directory to look for the static files, with the
STATICFILES_DIRS
identifier in the
setting.py
file.
Inside the
static
directory, we have also created two subdirectories
css
and
img
, that will contain CSS and image files, respectively. This makes the code modular and easy to maintain. In the
css
directory let's create a style.css file that will style our web page.
 /* static/css/style.css */
body
{
    background-color: black;
    color: white;
}
And in the
img
directory, store a feature.png image.
static
    css
       style.css
    img
       feature.jpg
Load Static file in a Template directory
The static files are loaded in an HTML template. The web page that we see on our browser is an HTML page with loaded CSS, images, and JavaScript. And Django defines a different configuration to handle template files like HTML and XML.
Similar to static file management, we need to configure the template directory in the settings.py file and create a template directory in the root folder of our project where the manage.py file is located.
#static_tutorial/setting.py
TEMPLATES = [
    {
        'BACKEND': 'django.template.backends.django.DjangoTemplates',

        'DIRS': [BASE_DIR / 'templates'],  #new

        'APP_DIRS': True,
        'OPTIONS': {
            'context_processors': [
                'django.template.context_processors.debug',
                'django.template.context_processors.request',
                'django.contrib.auth.context_processors.auth',
                'django.contrib.messages.context_processors.messages',
            ],
        },
    },
]
In the above code, we specify the location where Django looks for the custom templates. The
BASE_DIR / 'templates'
define the
templates
directory in the project root directory where the manage.py file is located.
Create templates directory
After specifying the template's directory location, let's create the template's directory and an index.html file in it.
mkdir templates
echo > templates\index.html
The above two commands will create a new directory template and the index.html file in the templates directory, respectively. The above echo command will only work for windows, If you are on a mac or Linux, use the touch command. Example (mac/Linux)
touch templates\index.html
templates
      index.html
Now let's write the index.html file and load the static files style.css and feature.png image in it using the template tags.
<!-- templates/index.html -->
{% load static %}

<!DOCTYPE html>
<html>
<head>
<meta charset="utf-8">
<title>Tutorial</title>
<!-- CSS -->
<link rel="stylesheet" href="{% static 'css/style.css' %}">

</head>
<body>
    <center>
        <h1>Heading</h1>
        <img src="{% static 'img/feature.png'%}">
    </center>

</body>
</html>
{%load static%}
The {%load static%} is a template tag that needs to be written at the top of the HTML script, and it loads the static files in an HTML template file. If we forget to write {%load static%} in our HTML file and use the {%static%} tag, we will encounter the error
Invalid block tag on line : 'static'. Did you forget to register or load this tag?
{%static%}
The {%static%} tag is defined in the under
django.contrib.staticfiles
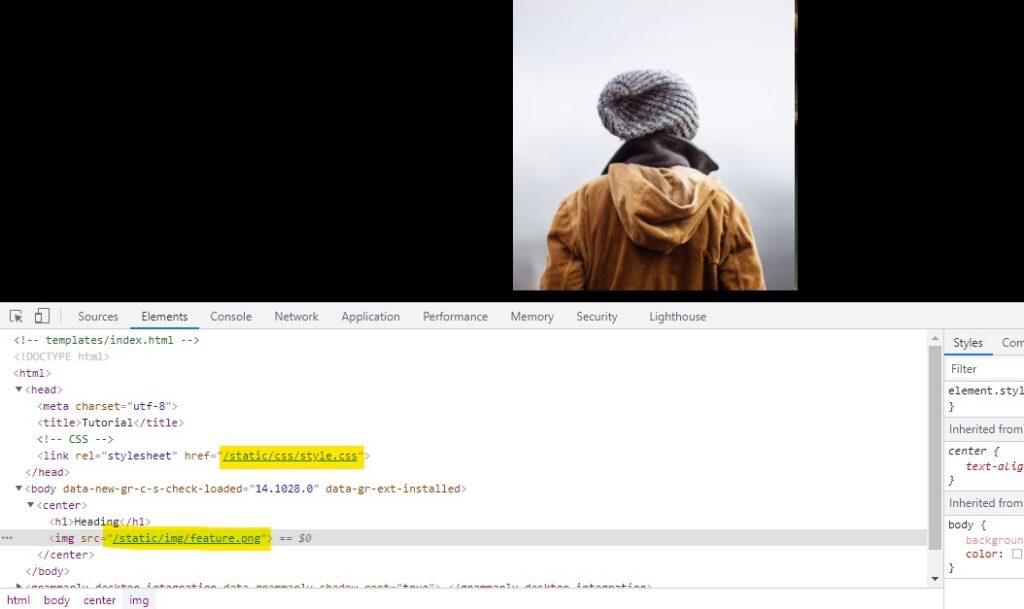
app. This tag is used to import the specific static file in the HTML file. In the above example, we have used this tag to load the style.css and feature.png images in the index.html.
<link rel="stylesheet" href="{% static 'css/style.css' %}">
<img src="{% static 'img/feature.png'%}">
Set views.py and urls.py file
As we have not created any app in this project to render the index.html page, we can create a
views.py
file in the static_tutorial directory where the settings.py file is located. for windows.
cd static_tutorial
echo > views.py
views.py
from django.shortcuts import render

def homepage(request):
    return render(request, 'index.html')
urls.py
from django.contrib import admin
from django.urls import path
from .views import homepage

urlpatterns = [
    path('admin/', admin.site.urls),
    path('', homepage, name='index')
]
python manage.py runserver
/static/css/
and
/static/img/
that we have defined in the
STATIC_URL
.
Serve Django Static File with Debug = False
Debug=False
.
DEBUG = False

ALLOWED_HOSTS = ['*']

When we set Debug=False we also need to set the ALLOWED_HOSTS value to the server that is hosting the project. The asterisk
*
means all. In such cases, when Debug mode is False, and you do not want to use any other server or S3 bucket to load the static files, there you can use the
whitenoise
library that can serve the static file. Using this library is very easy all we need to do is install it for our Python environment and add it to the middleware list in the setting.py file.
Whitenoise library
With whitenoise and configuring the setting.py file, we can serve the static files in Django without relying on the server like Nginx and Amazon S3 bucket. Many hosting providers like Heroku. OpenShift encourages the use of the whitenoise library for static files. To install whitenoise for your python environment, run the following pip install command .
pip install whitenoise
After installing the whitenoise library, we need to add its middleware in the settings.py file.
MIDDLEWARE = [
    'django.middleware.security.SecurityMiddleware',

     'whitenoise.middleware.WhiteNoiseMiddleware',   #new

    'django.contrib.sessions.middleware.SessionMiddleware',
    'django.middleware.common.CommonMiddleware',
    'django.middleware.csrf.CsrfViewMiddleware',
    'django.contrib.auth.middleware.AuthenticationMiddleware',
    'django.contrib.messages.middleware.MessageMiddleware',
    'django.middleware.clickjacking.XFrameOptionsMiddleware',
]
This is not it when we set the Debug to False; this means we are using the production settings in that case, Django does not use the development static file directory. Instead, it uses the STATC_ROOT directory. In the above section, we have already defined the SATIC_ROOT to
'staticfiles'.
Now, the whitenoise will search for the staticfiles directory for all static files. The next command we need to run is python manage.py collectstatic. It will collect all the static files that are present in the STATICFILES_DIRS and all the other inbuilt and third-party libraries static into the directory staticfiles directory.
python manage.py collectstatic
The above command will create a directory by the name staticfiles in the project root directory.
    staticfiles
        admin
        css
            vendor
        select2
        fonts
        img
        gis
        js
        admin
            vendor
            jquery
            select2
            i18n
            xregexp
            css
            img
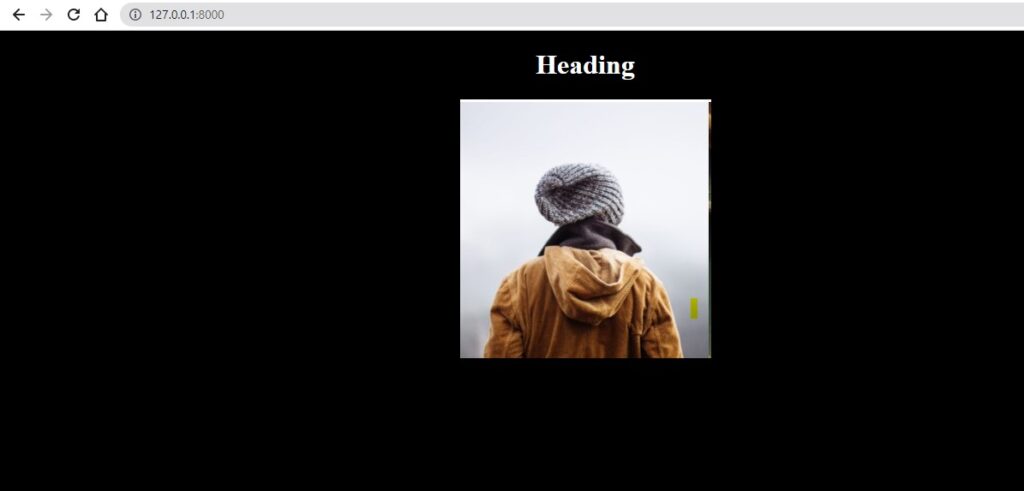
Now, if we run the server again Django will load the CSS and image in our HTML file.
Conclusion
Django has some predefined identifiers and settings to manage static files. Some of the most important identifiers are STATIC_URL, STATICFILES_DIRS, and STATIC_ROOT, which represent the URL path, local static directories, and production static directory path. Django is not built to serve static files at the production level. It always suggests using a separate server or S3 buckets for static files. But with third-party libraries like whitenoise, we can serve static files without using any other service.
People are also reading: