PIP is among the most popular package managers for Python. This article will discuss how to install Python PIP on various operating systems.
Third-party libraries and packages are the main assets of the Python programming language. The standard python itself does not have many libraries and packages for the developers. As such, third-party libraries and packages give a boost to python programming.
Python is well known for its simplicity and ease, that’s why it also makes sure that you can easily install any third-party package and/or library for your project just by writing a simple one-line pip command.
In python, you do not need to manage any of the installed packages, PIP will take care of everything.
What is PIP?
PIP stands for “Preferred Installer Program” and it is a command-line utility that helps you to manage your python third-party packages. By using the pip command, you can install, reinstall, update, and uninstall the PyPI package.
If you want to install popular third-party packages, such as NumPy, pandas, and TensorFlow for your project, you just need to open the command prompt or terminal on your system and type the pip install command to install any package or Library which are at PyPI.
What is PyPI?
PyPI stands for “Python Package Index” and it is the official central library for all the python packages, which means it consists of all the registered and licensed python packages. PIP itself uses PyPI as the source to install all the python packages. By now, PyPI has more than 130,000 packages on its repository.
How Do I Install Python PIP?
If you are using the Python 2.7 (or greater) or Python 3.4 (or greater) versions of python then you do not need to install PIP, because Python comes with a compatible version of PIP by default.
How to check the version of python installed on my system?
Open your cmd (Windows) or terminal (macOS, Linux) and write this command:
python --version
How to check the version of pip installed on my system?
Open the command prompt (Windows) or terminal (macOS, Linux) and enter the following command:
pip --version
Please note that you need to install pip separately only if you are using an old version of the Python programming language. If you are doing so, we highly suggest you to download the latest version of Python . If you are using a virtual environment and want to use the old version of Python and pip then you have to install PIP separately.
How to Install pip on Windows?
It's very easy to install pip on Windows. You just need to install a python file and run it using the command prompt. Ensure you must have the old version of python to run this file. Follow these steps to install pip on Windows:
-
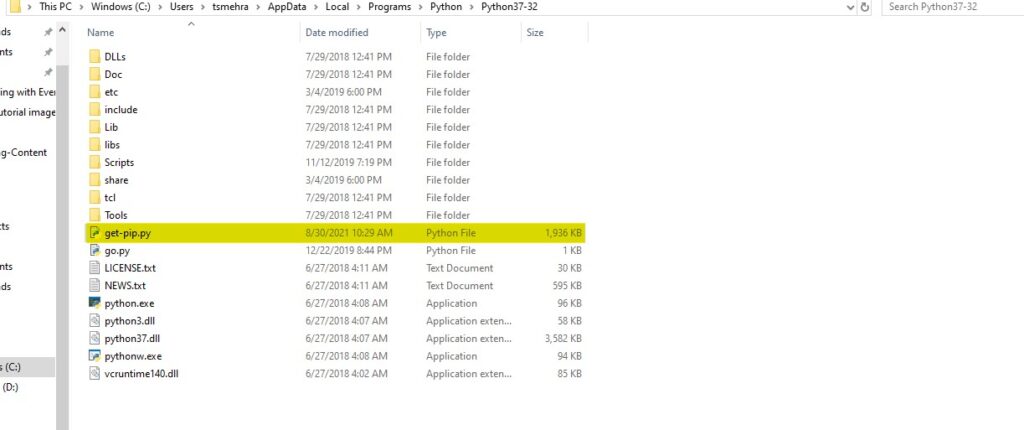
Download the
get-pip.py installer script
and save it as a python file by the name
get-pip.py,
in the same directory where your Python is installed.
Note:
If you are using the old Python 3.2 version, download this python file as get-pip.py and save it on your system.
-
Now open your command prompt (
(win+r) + cmd
) and navigate to the get-pip.py downloaded file.

-
Use command
python get-pip.pyand run the file.
- Now you have installed pip on your windows successfully.
- Use pip --version command to check the version of pip.
How to Install pip on macOS?
macOS is the only operating system that comes with the preinstalled, latest version of python and pip. But if you have the old version of python and want to install pip on your macOS, you just need to write a simple terminal command to install pip for the corresponding version of installed python. This command is:
sudo easy_install pip
How to install pip on Linux?
Like other operating systems, if you have the latest version of Python you would not need to install pip separately. But if you are using some old version of python then you have to install the Python package manager. Compared to Windows and macOS, the process of installing pip on Linux is different. This is because the OS has different commands for different versions of the Python ecosystem.
How to Install pip on Ubuntu 18.04
Python3 comes pre-installed on Ubuntu 18.04, but not pip3. We can use the Ubuntu apt command to install pip on our ubuntu system. But before installing pip we need to make sure that we have the sudo privileges.
Step 1: Update teh packege list
sudo apt update
Step 2: Install the pip for Python 3 using the apt install command.
sudo apt install python3-pip
The above command will install all the dependencies and install pip on the ubuntu for Python 3. Step3: Verify the installation by checking the pip version.
pip3 --version
Debian and Kali Linux also use the apt to manage their packages, so we can use the same commands to install pip on these two Linux systems. There are many Linux distributions and they use different package managers. Here is a list of various Linux distro commands to install pip.
| Python Versions | Linux command to install pip |
| apt install pip (Python 2.x) |
sudo apt-get install python-pip |
| apt intall pip (Python 3.x) |
sudo apt-get install python3-pip |
| pacman Package Manager (Python 2.x) |
sudo pacman -S python2-pip |
| pacman Package Manager (Python 3.x) |
sudo pacman -S python-pip |
| Yum Package Manager (Python 2.x) |
sudo yum upgrade python-setuptoolssudo yum install python-pip python-wheel |
| Yum Package Manager (Python 3.x) |
sudo yum install python3 python3-wheel |
| Dandified Yum (Python 2.x) |
sudo dnf upgrade python-setuptoolssudo dnf install python-pip python-wheel |
| Dandified Yum (Python 3.x) |
sudo dnf install python3 python3-wheel |
| Zypper Package Manager (Python 2.x) |
sudo zypper install python-pip python-setuptools python-wheel |
| Zypper Package Manager (Python 3.x) |
sudo zypper install python3-pip python3-setuptools python3-wheel |
How to Install PIP on Raspberry Pi?
Terminal commands: For old versions of Python 2.x:
sudo apt-get install python-pip
For old versions Python 3.x:
sudo apt-get install python3-pip
Top Pip Commands
These are some of the most widely-used Python PIP commands:
| Pip Command | Description |
| pip install <package_name> | Install package |
| pip download <package_naem> | Download package |
| pip uninstall <package_naem> | Uninstall packages |
| pip freeze | Output installed packages in requirements format. |
| pip list | List installed packages. |
| pip show | Show information about installed packages. |
| pip check | Verify installed packages have compatible dependencies. |
| pip config | Manage local and global configuration. |
| pip search | Search PyPI for packages. |
| pip wheel | Build wheels from your requirements. |
| pip hash | Compute hashes of package archives. |
| pip completion | A helper command used for command completion. |
| pip debug | Show information useful for debugging. |
| pip help | Show help for commands. |
Upgrade and Downgrade pip version
After installing the pip we can upgrade and downgrade it to a specific verison. With python -m pip install --upgrade pip command we can upgrade our pip to the latest version.
python -m pip install --upgrade pip
We can also downgrade and upgrade the of our pip by specifying the version.
python -m pip install pip==version_number
For example
python -m pip install pip==19.3.1
Conclusion
Long story short, you do not need to install pip if you have the latest version of Python. If pip is not functional on your system just reinstall Python, if possible, download the latest version. It might solve the PIP problem.
Moreover, it's highly suggested that rather than installing pip separately, install the latest version of python that already comes with a pre-installed PIP.
If you like this article and have any suggestions feel free to comment down below.
People are also interested:
- How to Install Python 3 on Windows 10
- Python Data Visualization
- floor() and ceil() function in Python
- Python Typeerror
- How to use the % Operator in Python?
- Best Python Libraries
- Python GUI Frameworks
- How to Parse data from JSON into Python?
- Python Data Visualization Libraries
- How to Delete a File in Python?