

We know that Linux provides a robust environment for multiple users to work together in the same host machine. This means that Linux can be categorized as a multi-user OS. It is a type of operating system where several users can interact with each other simultaneously. In this post, we will know how to create users in Linux. Linux users can be grouped along with each other. Moreover, we can define a specific set of permissions for a group or even for a particular user. This set of permissions is managed by a system administrator, which is also called the root or sudo user of the Linux system. The admin is responsible for creating users and groups. She is also responsible for setting passwords and permissions, removing users from groups or the entire group itself. In simpler words, the admin user or the root user has all the power and privileges to manage users and groups in Linux. In this comprehensive guide, we will walk you through how to add users in Linux. We will also explain how to set passwords for users, manage users, assign users to groups, and much more. To go ahead with this tutorial, make sure you are the root user or you have access to the root/admin account of your Linux machine. Also, note that working as a root user is quite risky as you have all the permissions to manipulate files and privileges. You might delete an important system file or crash the system. So be very careful while using these commands as a root user. Before proceeding with creating users in Linux, let's first know about the useradd command.
The useradd Command
As a root user, you can leverage the useradd command along with several options to create new and customized users in your Linux machine. Based on the options that you define in the command line, the useradd command will create new user accounts and update the values inside the /etc/default/useradd file. The useradd command will produce different outputs on different Linux distributions. The reason behind this is that the variable that is defined in the above-mentioned file varies in different Linux distributions. There is another file that the useradd command reads when it is invoked. It is the /etc/login.defs file. This file contains all the necessary shadow password configs. This includes the expiration policy of the passwords, user ID range, and so on. The syntax for the useradd command for creating a new user is:
$ sudo useradd [options] username
How to Create Users in Linux?
You can use the useradd command along with the username of the user that you want to create. Please note that if you don’t specify any options along with the useradd command, it will use the default settings of the useradd file and create a new user based on that. Moreover, the useradd command will add specific values in the group, shadow, passwd, and gshadow files inside the etc directory. Let's create a user with name test using the useradd command:
$ sudo useradd test

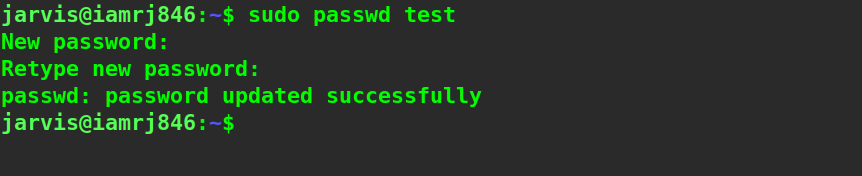
Now that we have created our new user, we need to generate a password so that we will be able to log in through this username. To set a password, we can use the following basic Linux command :
$ sudo passwd test
This command will prompt us to enter a password along with a confirmation for the specified username.
1) Adding a user and creating a home directory
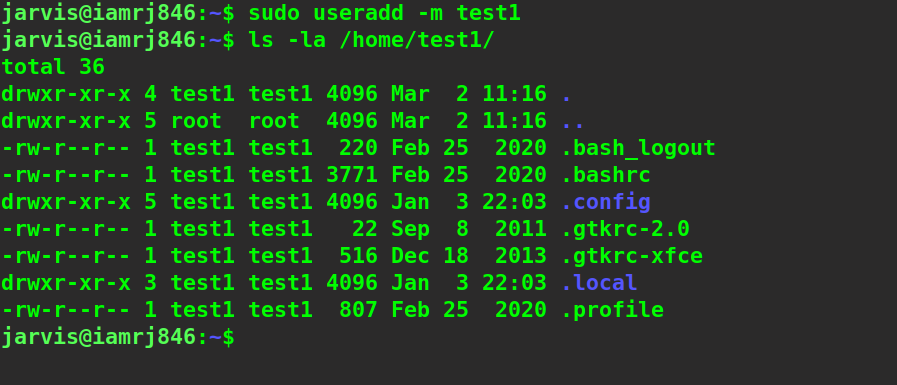
By default, in almost all the Linux distributions , when you create a new user using the useradd command, a new home directory for the user is not created. We can use the -m option, which stands for (--create-home) , to create a home directory for the new user that will be set as /home/username .
$ sudo useradd -m test
Using the above command, you will create a new home directory for the added user. Moreover, it will copy the files from the
/etc/skel
directory of the root account to the new home directory. To check out the initialization files for the new user home directory, we can use the following command:
2) Creating a specific home directory for the new user
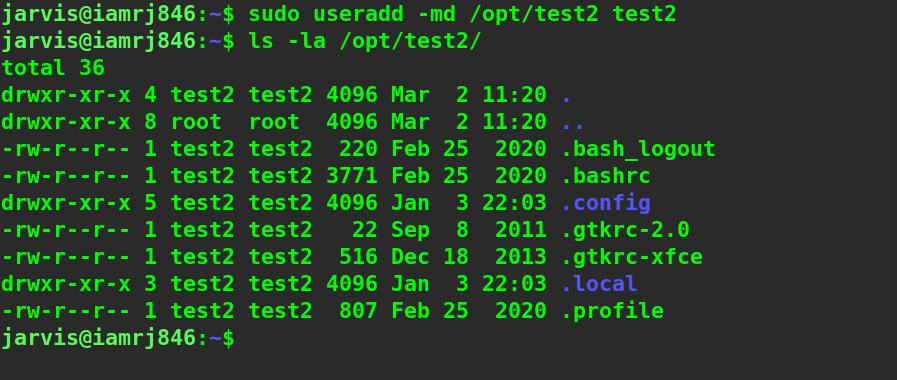
We know that the home directory for the newly created user will be created in the /home/username path. We can use the -d option, which is a shorthand notation for --home , to create a home directory at a different location.
$ sudo useradd -md /opt/test2 test2
3) Create a new user with a specific user ID
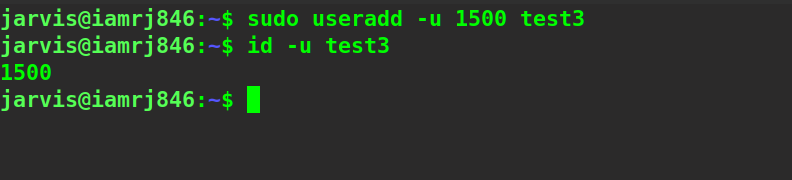
In Linux systems, each user can be identified by a combination of user ID and username. The user ID for each user is unique and is a random positive integer by default. The UID will determine the actions that can be performed by the users, along with a few control policies. By default, the Linux system will assign a UID to the user, which is available immediately next to the previously created user according to the login.defs file, which defines a range of UIDs. If we use -u , which is a shorthand for --uid , along with the useradd command, we will be able to specify our own user ID to the new user.
$ sudo useradd -u 1500 test3
To verify the ID of the new user, we can use the ID command along with the -u option and the username of the user.
$ sudo id -u test3
4) Create a new user with a particular Group ID
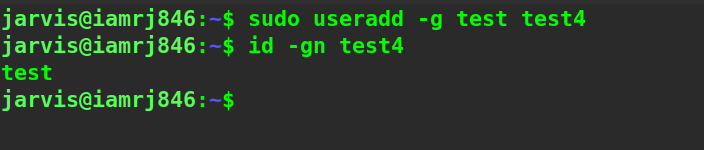
You can create groups in Linux and manage them as root users. Linux groups help to define a set of privileges to a cluster of users in the same group. Such privileges include writing, reading, etc., on files and other resources. By default, the Linux system uses the same name and ID as the new user to create or assign a group. You can define your own group ID or group name by using the -g flag. It is a shorthand notation for --gid . Also, please note that the group should already exist with the same name or ID before.
$ sudo useradd -g test test4
To verify whether the specified group has been assigned to the new user or not, you can use the following command:
$ id -gn test4
Wrapping Up!
In this comprehensive guide, we discussed how to create users in Linux with the useradd command. We skimmed through a few basics of users and groups in Linux and how it leverages them to set permissions and privileges for a set of users. We started with the useradd command and its syntax. Next, we looked into a few examples of using the command. This included creating users using the useradd command, adding a user, creating a unique and specific home directory for that user, and creating users with a specific group and User IDs. Now, you must be well aware of creating new users in Linux. We hope that through this step-by-step guide, you will be able to create new users in Linux easily using the useradd command. If you have any questions regarding the article, let us know via comments. People are also reading:
- Best SED Commands Linux/Unix with Examples
- Shell Commands in Linux
- Unix vs Linux
- How to use the AWK command in Linux?
- Find Command in Linux to search for Files
- How to use vi editor in Linux?
- Check disk space using DF command in Linux
- Compress and Extract Files Using tar Command on Linux
- rmdir Command in Linux
- PING Command in Linux


Leave a Comment on this Post