
TensorFlow is a machine learning framework suitable for carrying out various tasks, such as image recognition and text classification. Google developed this machine learning framework for designing, building, and training various types of deep learning models. Also, TensorFlow is open-source, which means that anyone can use it for free. Some popular applications that are built on top of TensorFlow include Google Cloud Vision and AlphaGo.
If you are new to TensorFlow and want to install it on your system, then this article is for you. Here, you will get familiar with different methods for installing TensorFlow on your system. You can choose any method that seems appropriate to you.
TensorFlow Versions
TensorFlow is available in two different versions, namely CPU-only and GPU-supported. If you are a beginner looking to work on entry-level machine learning projects or want to use TensorFlow for creating and training simple machine learning models, you can go for the CPU-only version.
However, if you want to work on more complex tasks like image processing, then you need to choose the GPU-supported version. Here, we will guide you with the installation process of the GPU-supported version of TensorFlow.
How to Install TensorFlow (GPU version)
If you are using a Windows system, then you can install TensorFlow using either “pip” or “anaconda”. Also, if you have Python installed on your system, you will already have the pip package manager as Python comes with the pip by default. Alternatively, you can also use “anaconda” for installing TensorFlow, but for this, you have to install Python explicitly.
Using pip
For accessing the pip package manager, you need to install Python on your system. Make sure that you download and install the latest Python version from its official website. After the installation process completes, you can check the pip version installed on your system. To check it, you can run the below command in the terminal or command prompt:
$ pip3 --version
Now, we can proceed with the installation of TensorFlow. For this, you have to open the command prompt on your Windows system. Just make sure that the command prompt has admin privileges to run the commands mentioned ahead. Now, you have to run the following command to install TensorFlow:
$ pip3 install --upgrade tensorflow
It will take some time to complete the installation process, so you have to wait. If you want to install the TensorFlow with GPU support, you need to run the following command.
$ pip3 install tensorflow-gpu
Using Anaconda
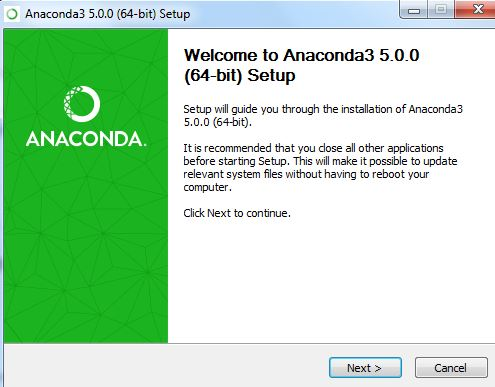
As mentioned earlier, Python does not come with the anaconda package. So you need to download the anaconda package from its official website . After the download process is completed, you can double-click the executable file to start the installation process for anaconda. You will get to see the anaconda installer, which looks like the one shown below:
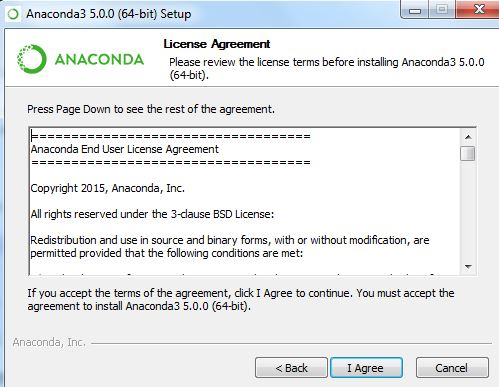
First, click the Next button. Then accept the terms and conditions by clicking the 'I Agree' button as shown below:
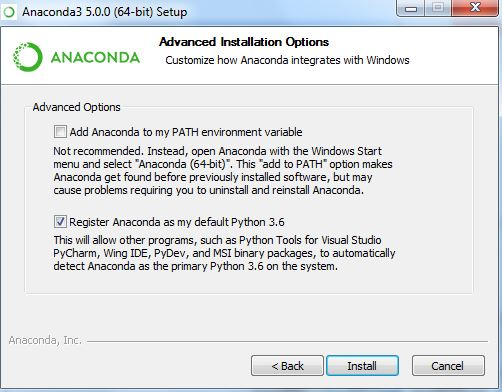
Now, select the type of installation. After selecting the right option, click Next. Make sure to install it in the default directory or select a directory of your choice and then click Next. Then, you will get the advanced options as shown below. You need to select the second checkbox as illustrated in the screenshot below:
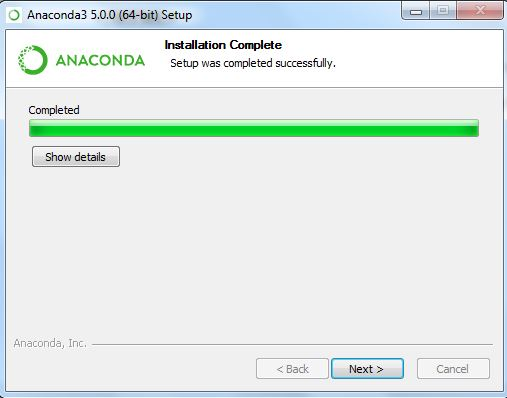
Once you click the Install button, the installation process will start, and it will take some time to complete. After completion, you can click the Next button to finish the installation.
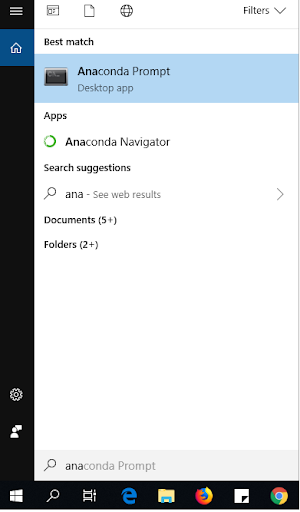
Once you are done with the installation, you will be able to use the “conda” package manager that is available for managing the virtual environments and package installation of anaconda. Now launch the “Anaconda Prompt” from the Start menu.
You can check for the details of conda installed on your system by running the following command:
$ conda info
Now we have to create a Python virtual environment using conda. It will work as an isolated working copy for Python that has its personal files, paths, and directories, thus allowing you to work on various Python environments without impacting other Python projects running on the same machine. If you want to create a virtual environment for TensorFlow then you can run the below-mentioned command:
$ conda create -n [environment-name]
We have named the version of TensorFlow “ver_ten”, but you can name it as per your choice.
$ conda create -n ver_ten
Now you will be asked for permission to continue, you need to type “y” if you want to proceed. Now the environment is created successfully. You can now activate the created environment, by running the following command:
$ activate ver_ten
Now it’s time to install TensorFlow on this environment by running the following command:
$ conda install tensorflow
It will also install various packages along with TensorFlow. Once you get the prompt for confirming the installation, type “y” and hit the Enter button.
How to Verify the Installation?
For checking if the installation was successful, you need to run Python’s import statement to check for the installed library. Type python on the command prompt where you have created the virtual environment as shown below.
$ python
Now you can import the library by running the following command:
import tensorflow as tf
If there is an error in the installation, you will get the error message else there will be no output.
Conclusion
TensorFlow is a popular machine learning framework that is popular among AI and ML developers. If you are also planning to use it, you need to first install TensorFlow on your system. In this article, we have discussed two different ways for installing TensorFlow on a Windows system. The first method requires you to use the pip package manager while the second method makes use of the Anaconda package. You can choose any of these methods as per your preferences.
People are also reading:
- Best Machine Learning Certifications
- Implement Classification In Machine Learning
- Machine Learning Applications
- Machine Learning Algorithms
- Best Machine Learning Frameworks
- Machine Learning Interview Questions and Answers
- Decision Tree in Machine learning
- Data Science vs Machine Learning
- Introduction to Machine Learning
- Best Machine Learning Books