

Jupyter Notebook is a widely-used and powerful data science tool . In this article, we will walk you through how to install it, set it up on your local system, and how to use it. But before all that, let's first understand Jupyter Notebook.
What is Jupyter Notebook?
Jupyter Notebook is an open-source web application. It is a notebook/advanced IDE that allows us to write code and display its output in a single document. As a consequence, many Python data scientists use it to run and explore data within a single document. With it, we can:
- Write code,
- Visualize output,
- Narrate text,
- Show mathematical equations,
- Execute code, and
- Do much other media-related stuff.
Jupyter notebook also makes it easy to share the code document along with the outputs in different formats. Although Jupyter Notebook supports over 40 Programming languages, this article will only cover how to install Jupyter Notebook for Python and how to use it with Python.
Installing Jupyter Notebook on Windows, macOS, and Linux
There are two ways to install Jupyter Notebook for your Python environment:
- Using Anaconda
- Using Python pip
Before you wish to install Jupyter Notebook, make sure that Python and pip are already installed on your system. Here's how to install Python and how to install pip . Also, check your Python version and make sure that it is Python 3.3 or newer.
How to Install Jupyter Notebook Using Anaconda
Anaconda is an open-source distribution that provides data science and scientific computing tools, including Jupyter Notebook, Python and R programming languages. Anaconda works on R and Python programming languages. Similar to Python pip, it acts as a package manager for managing data science, machine learning, and data processing packages. Many data scientists and beginners use Anaconda to install Jupyter Notebook and other data-science-related packages. This is because Anaconda provides a straightforward and simple interface to install Jupyter Notebook and other Data Science related packages and programming languages .
Steps to download Jupyter Notebook using Anaconda
Step 1: Download and Install Anaconda
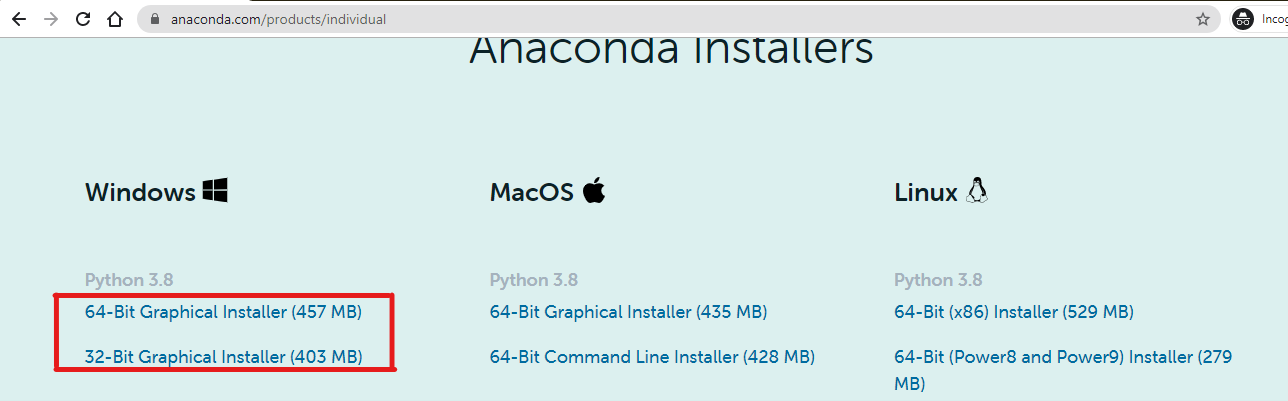
Visit the official web-site of
Anaconda
, and under the
products
section, click on the
individual
edition. From there, you can install the relevant Anaconda for your system. Right now, we are using windows, so we are downloading the Windows version, as demonstrated follows:
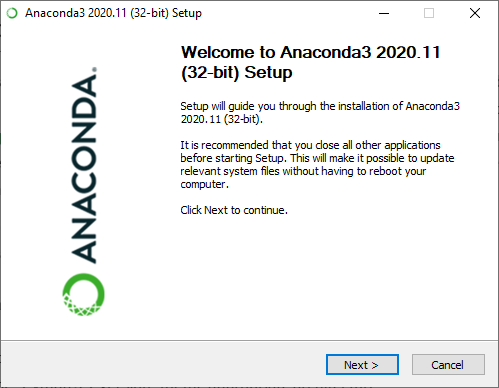
 After downloading the Anaconda application, install it on your system.
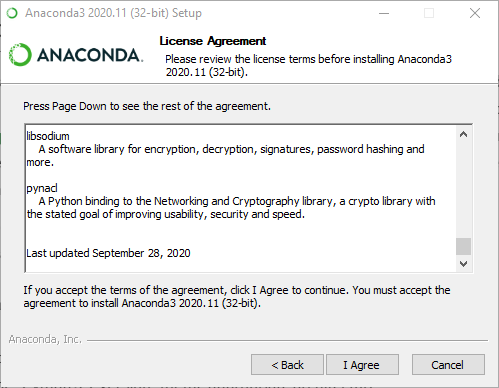
 Click on the
I Agree
Button.
Click on the
I Agree
Button.
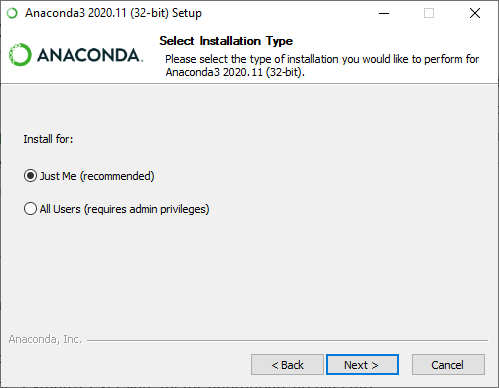
 Checkmark the
Just Me.
Checkmark the
Just Me.
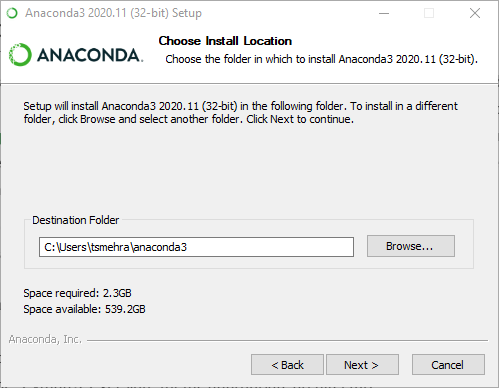
 Now, select the installation location.
 Register with
default Installed Python
.
Register with
default Installed Python
.

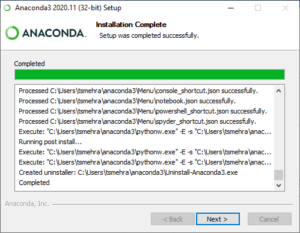
This will install Anaconda on your system.

Click on
the Next
button.
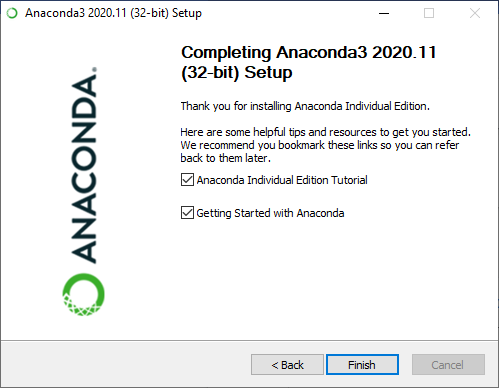
Click on the
Next
button and at last click on
Finish.
Step 2: Launch Anaconda Navigator
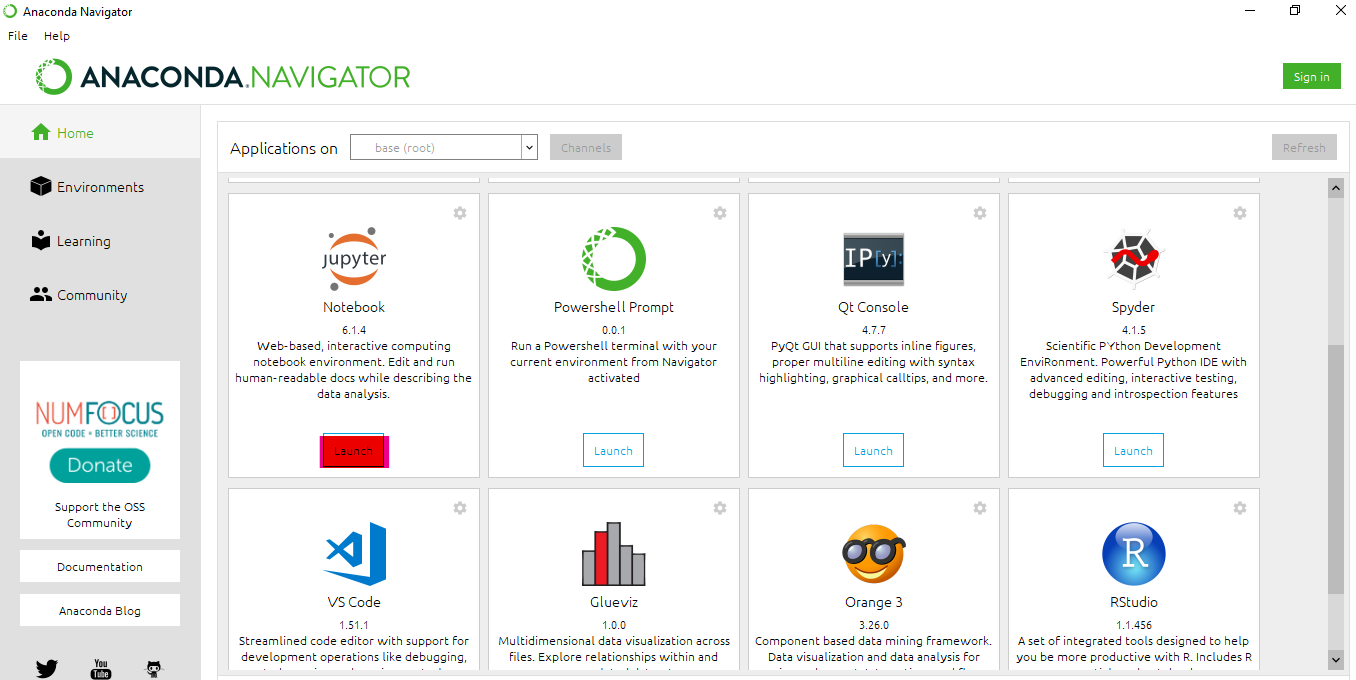
Step 3: Launch Jupyter Notebook
Jupyter Notebook will come pre-installed with the latest Anaconda version, so you just need to
Launch
it. If Jupyter Notebook is not pre-installed, you will see the option
Jupyter Notebook Install
, instead of
Jupyter Notebook Launch
. If this is so, go for it.
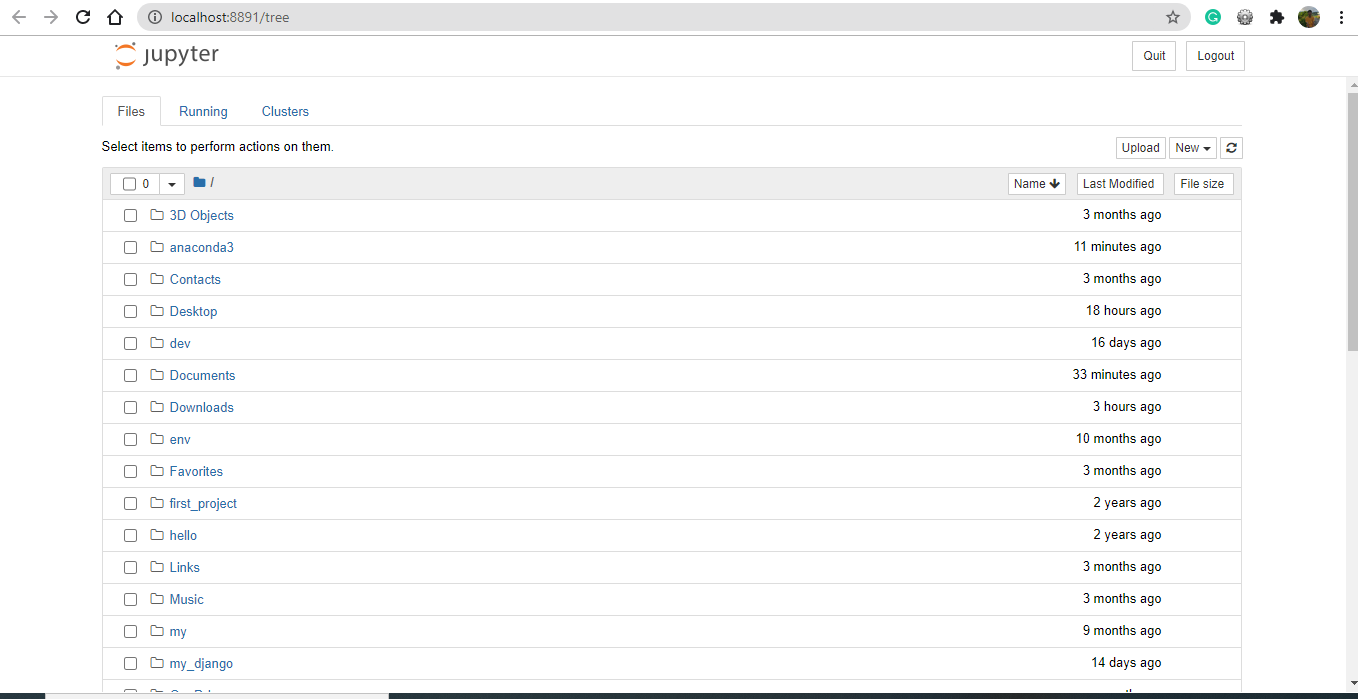
 After Launching the Jupyter Notebook, you will see a similar screen like this:
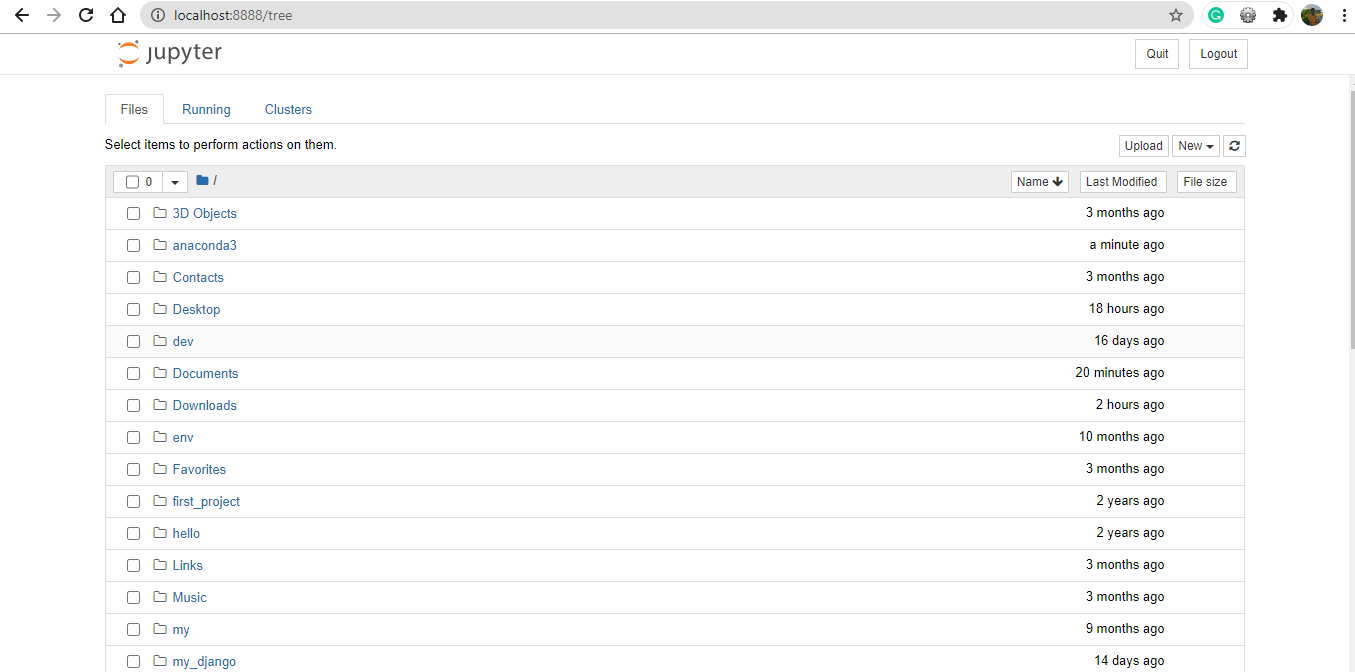 Now Jupyter Notebook is running on your localhost. So now you can surf to the directory where you want to create your project and start coding.
How to Install Jupyter Notebook using Python pip
Anaconda is great, but it consumes many resources and may lag on your system. The pip is the python package manager that comes with the most Python distributions. And with a simple pip install command, Jupyter Notebook installs on your Python environment. Installing Jupyter Notebook using pip is very straightforward. And within two steps, you can install and run Jupyter Notebook in your system. This is the reason why installing Python with pip is very popular. <Note>: Before you use the pip command to install Jupyter Notebook make sure that Python and pip are installed on your system.
Step 1: Install Jupyter Notebook using pip
Using the pip install command, we can install Jupyter Notebook for our Python environment.
pip install notebook
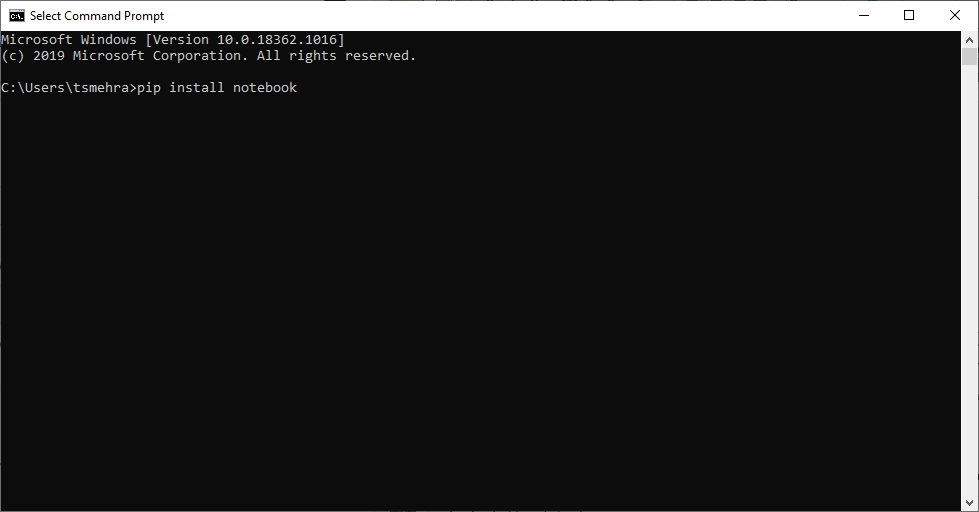
This may take some time.
<Note>
There is
no
such command as
pip install jupyter
. So be careful when you install Jupyter Notebook using Python pip.
Step 2: Launch Jupyter Notebook
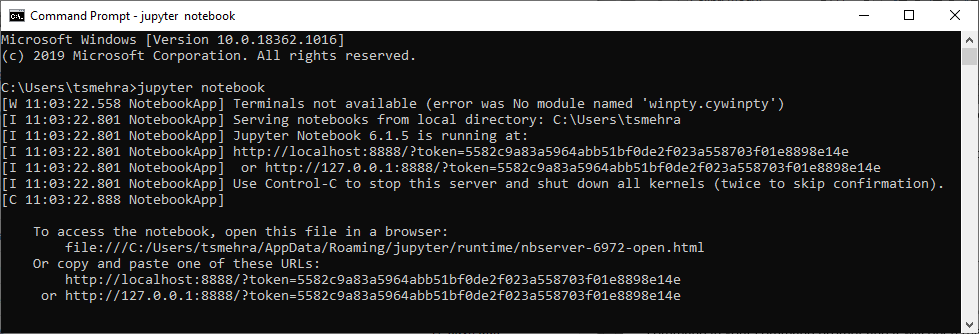
Once the notebook package is installed, type the
jupyter notebook
command on your terminal or command prompt to launch the Jupyter Notebook.
jupyter notebook
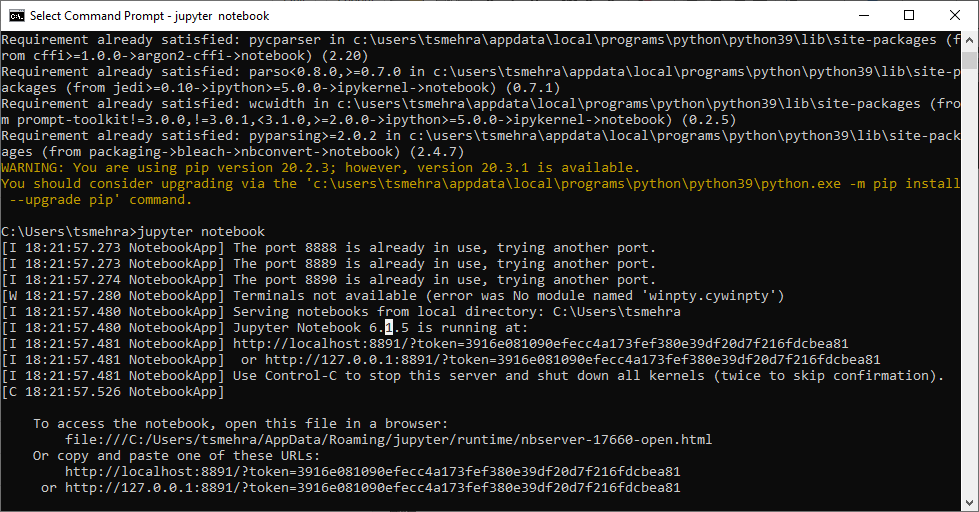
After launching the Jupyter Notebook, you will see a similar screen to this:
 Note:
After Launching the Jupyter Notebook from the command prompt or terminal, do not close the same as it will kill the Jupyter Notebook
.
Note:
After Launching the Jupyter Notebook from the command prompt or terminal, do not close the same as it will kill the Jupyter Notebook
.
Create Your First Notebook
So now that you have successfully downloaded and installed Jupyter Notebook for your Python environment, it’s time to create your first notebook. In this section, we will walk you through how to create and save a notebook. We will also discuss some of the core terms of Jupyter Notebook and write some Python code.
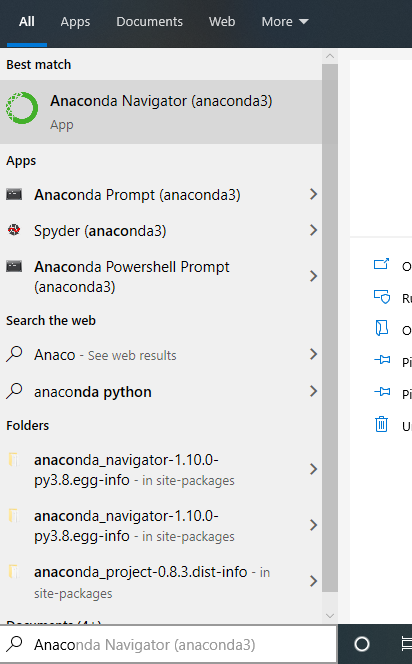
Run Jupyter Notebook
If you have installed Jupyter Notebook using Anaconda, you can run your Jupyter Notebook through the shortcut
Jupyter Notebook (Anaconda)
from your start menu. Else, you can open your
Anaconda navigator
and launch the Jupyter notebook. If you have Installed Jupyter Notebook using Python
pip
, you can use the
jupyter notebook
command in your command prompt, and it will open the Jupyter Notebook.
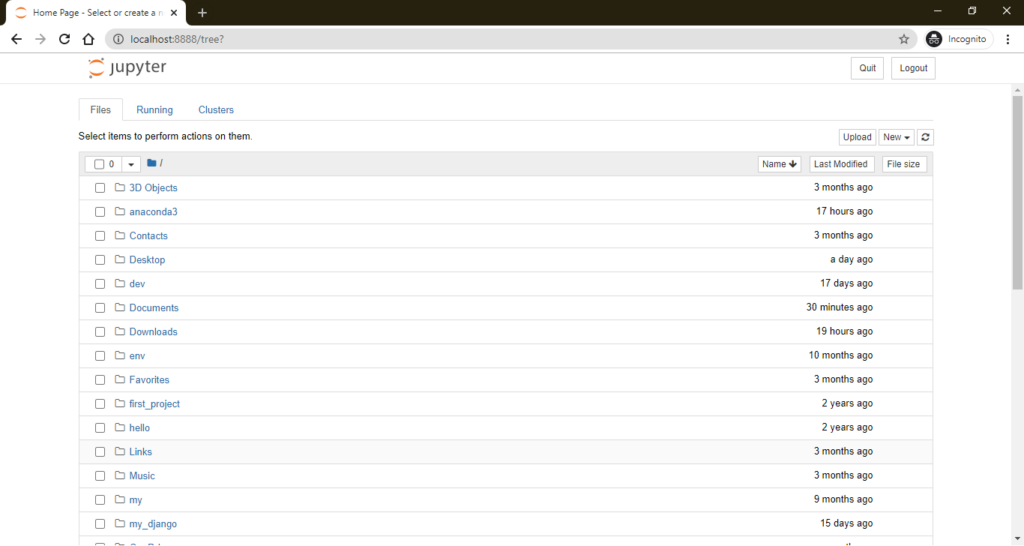
This will open the Jupyter notebook at the command prompt or terminal specified location. The command
jupyter notebook
will open the Jupyter Notebook in your browser, and you will see a similar screen to this:
The above screen is the dashboard, it’s not a notebook. To create a new notebook, you need to click on the
New
button and select the
Python 3
option.
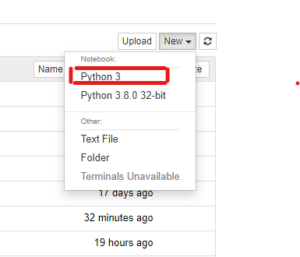
This will create a new
untitled.ipynb
notebook on the same directory.
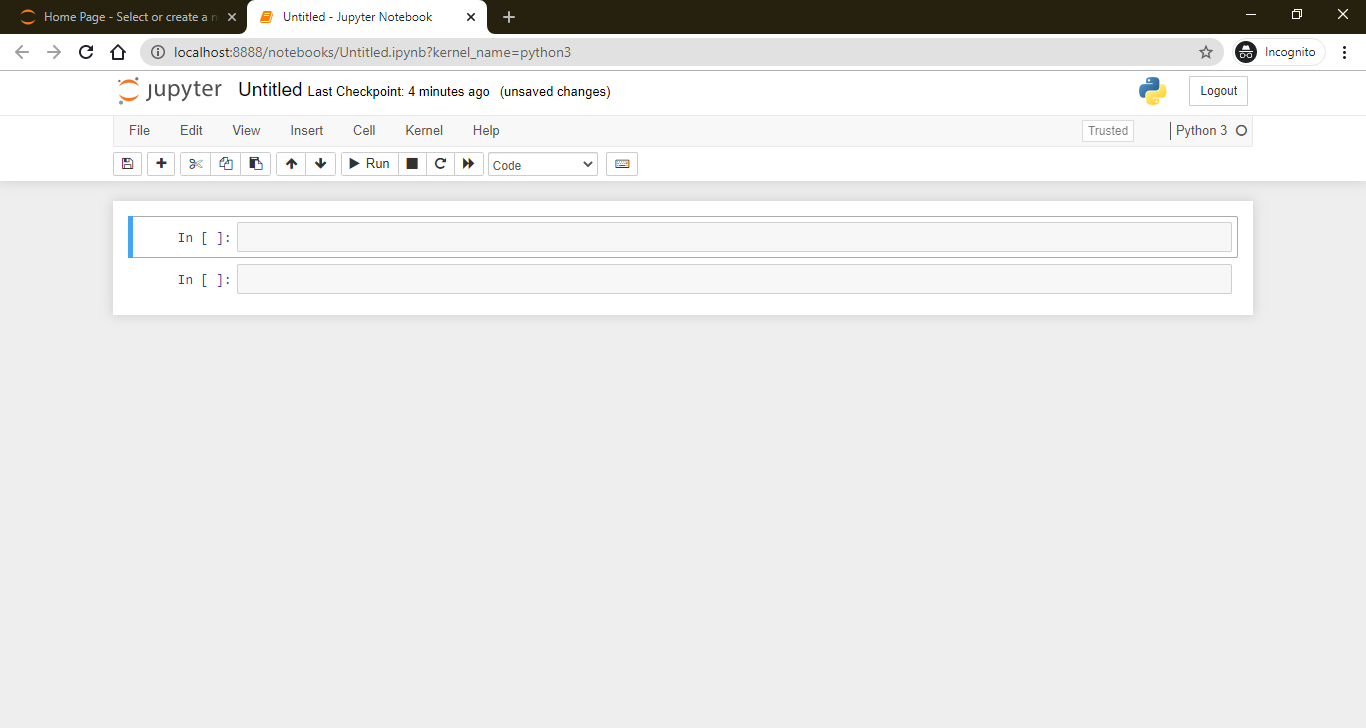
The Notebook Interface
So far you have created a new Jupyter Notebook by the name untitled. ipynb . Now you can also rename your notebook by clicking on the untitled. The notebook is an advanced IDE, and here, you can write code. And like other IDEs and text editors, it also supports some shortcut commands. To see all the available shortcut commands, type Ctrl + Shift + P . There are two prominent terms associated with every notebook:
- Cell
- Kernel
Each of them is explained as follows:
Cell
The cell is the notebook's body, and inside the cell, you can write the code and markdown. There are two types of cells:
- In the Code Cell, you write the code that will be executed by the kernel.
- In the Markdown cell, we use the markdown language to perform the text formatting.
Code Cell example

Markdown Cell Example
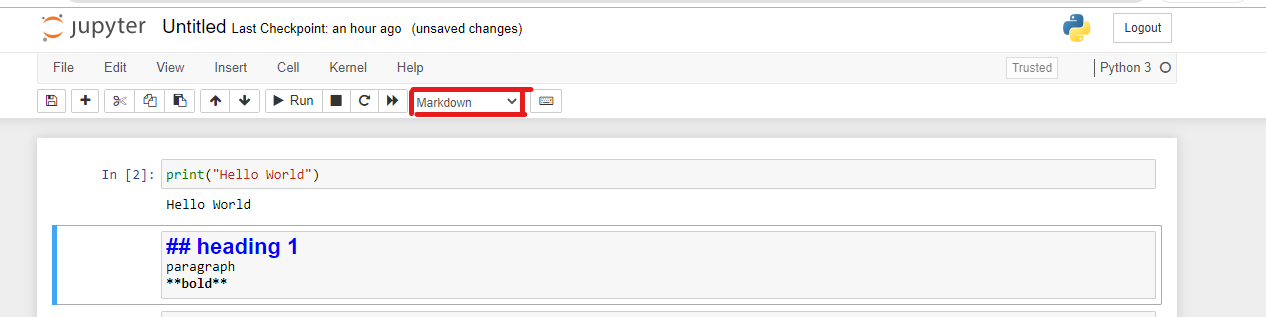 The type of Cell selected can be toggled from the menu. To execute the code and markdown written in the cell, use the
Shift + Enter
.
The type of Cell selected can be toggled from the menu. To execute the code and markdown written in the cell, use the
Shift + Enter
.
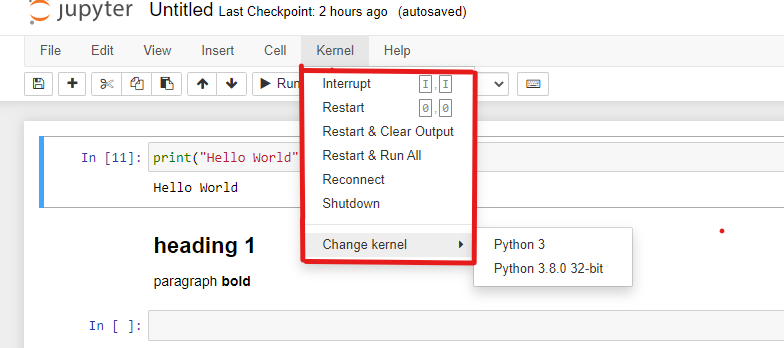
Kernel
Every notebook consists of a kernel. The kernel is the computing engine that executes the code written in the cell. The kernel is responsible for executing and showing code output. When we create our New notebook, we select Python3, and this set Python3 as a kernel for our notebook. Jupyter Notebook supports 40+ programming languages along with their different versions. And from the kernel menu, we can change our existing kernel.
Save and download the notebook
Once you have written and executed the code, you can save the notebook from the File option.
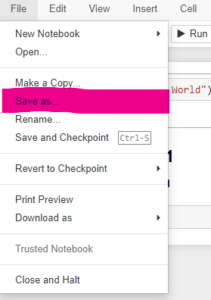 In the
File
menu, you will also get an option
Download as
where Jupyter Notebook download is available in 9 different formats.
 You can choose the one you find useful.
Conclusion
Here in this article, we learned how to install Jupyter Notebook using Anaconda and Python pip command. Jupyter Notebook is one of the Best Python IDEs for data scientists and machine learning engineers. Although Jupyter Notebook installation could be challenging through Anaconda, it makes it easy to use other data science packages and programming languages. You can also install Jupyter Notebook using the pip command. For most of cases, you will be using it as it is very convenient doing so.
People are also reading:
- Online Python Compiler
- Python Blur Faces in Images
- Automate Login Using Selenium in Python
- How do I Upgrade the Python Installation in Windows 10?
- Starting Python Coding on a Macbook
- Data Visualization in Python
- Python Modulo in Practice
- How to Calculate the Square of a Number?
- Python Developer Skills
- How to use sys.argv in Python?


Leave a Comment on this Post